Nahal Kanaim
Judean Desert
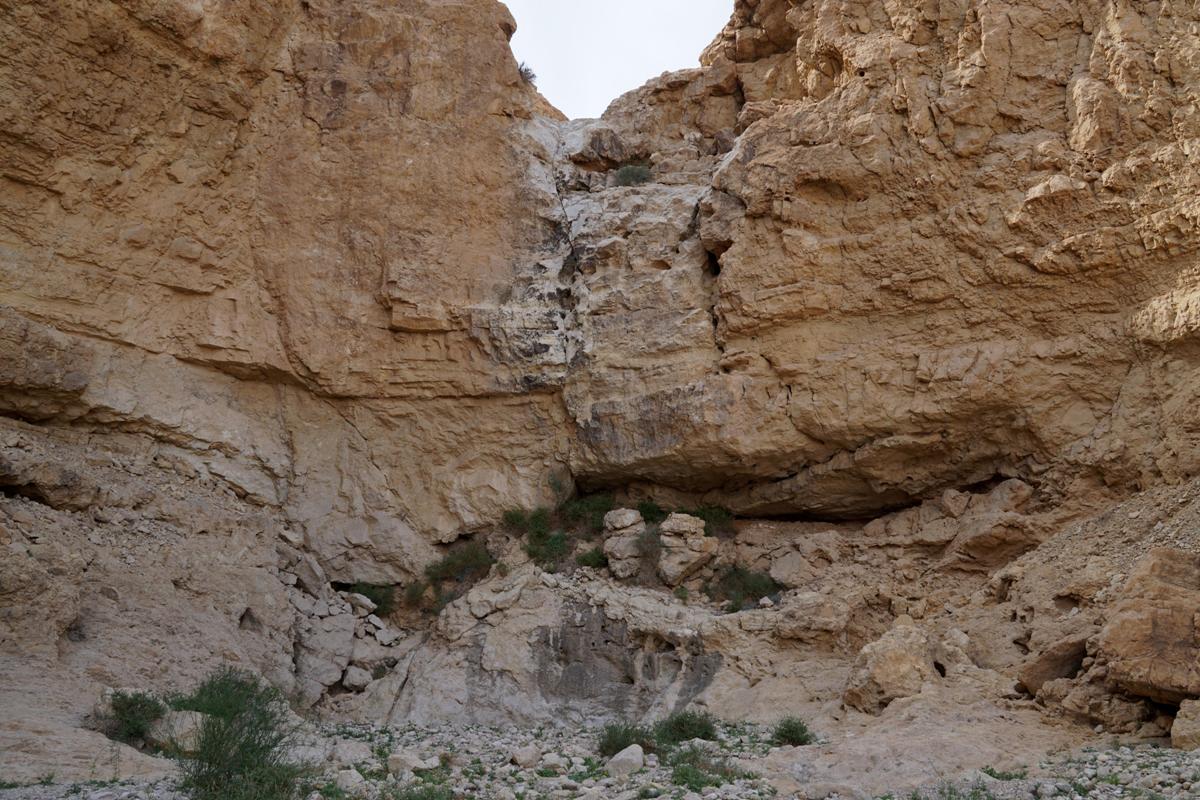
A view of the 1st dry fall of nahal
Kanaim
The route type:
Rappelling trip.
The canyon is dry all the year round but be wary about floods during winter rains.
Each of the first
three rappelling stations equipped with one self-made spit. *
You must have your own equipment to reinforce existing stations.
Getting there:
Drive on the road number 90 along Dead
Sea to Masada junction, turn to Masada National Park and park at a big parking
lot just before the main entrance barrier.
The trail marked with black marks starts
from the parking lot. It follows the road that leads to Masada Visitor Center
for some 200m and that turns left to "Maale Elazar" ascent.
Ascent with the trail to Mount Elazar plateau and walk west along the edge (400m of height
gain; the views of Masada are great; ruins of the Roman camp up on the
plateau).
Eventually the trail turns to south and
after 1km of easy walking crosses a stream bed. This is nahal
Kanaim and the rappelling trip starts here.
Provide 1.5-2 hours for approach.
|
|
|
|
|
|
|
|
|

|
|
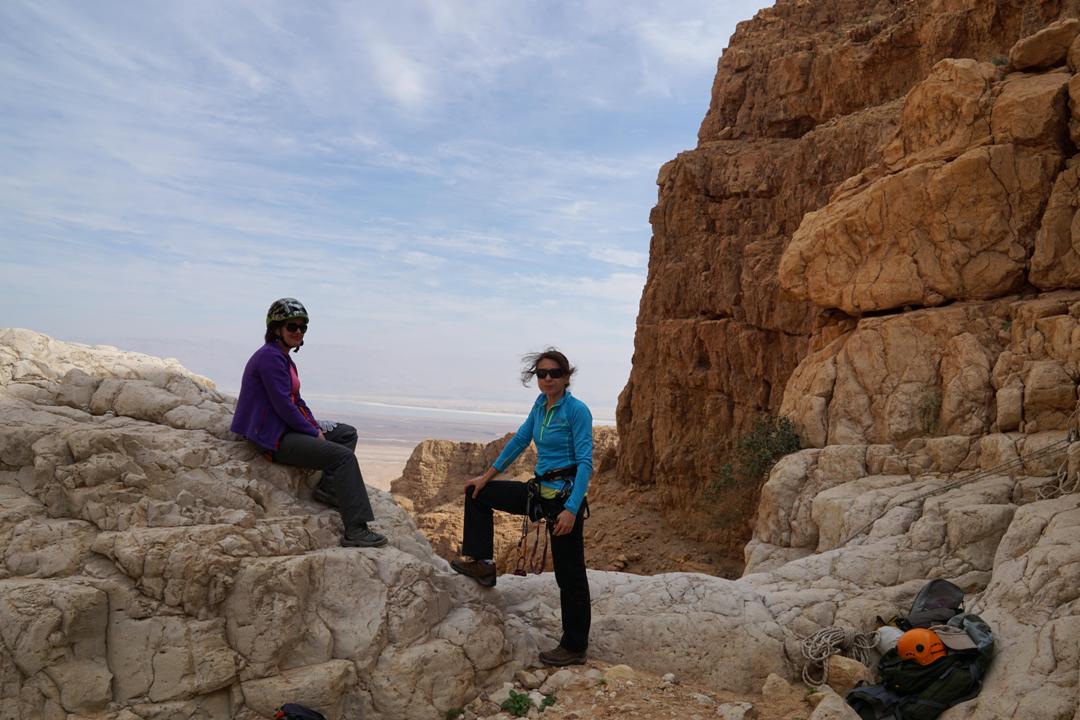
A view of Masada from Mount El Elazar |
|
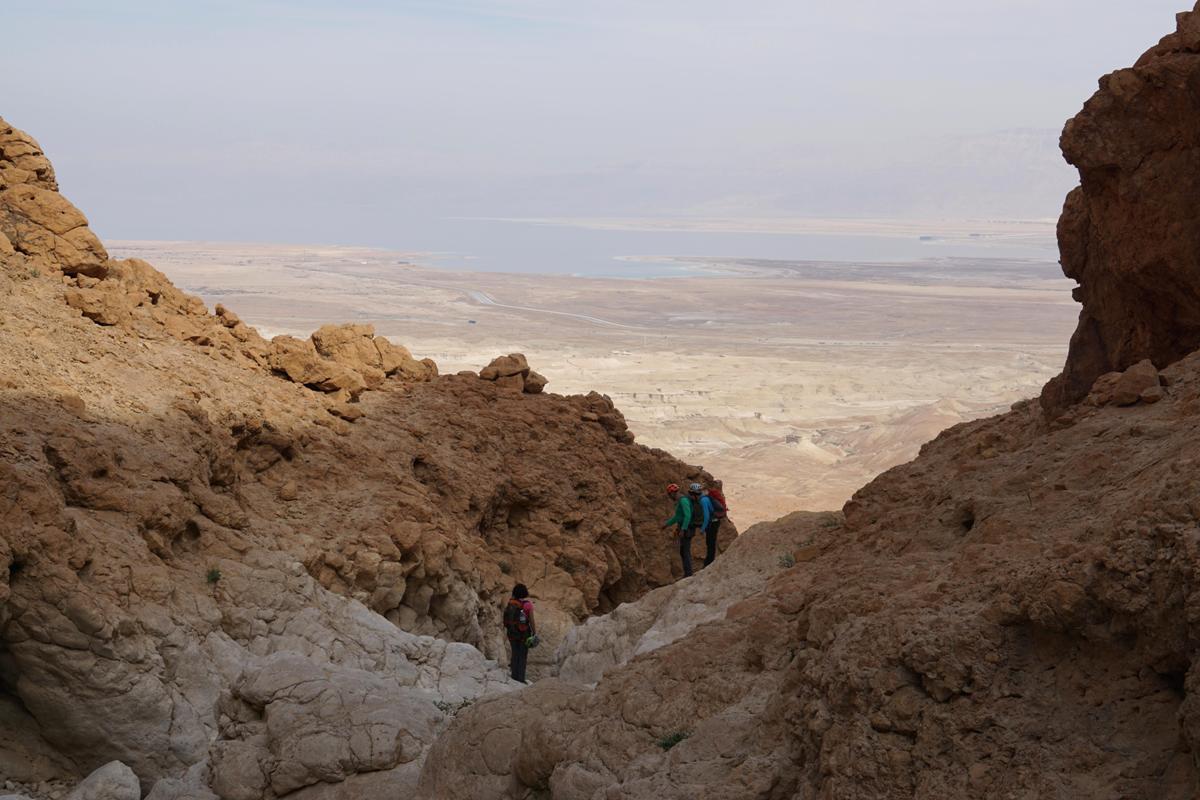
Entering into the nahal Kanaim canyon |
|
|
|
|

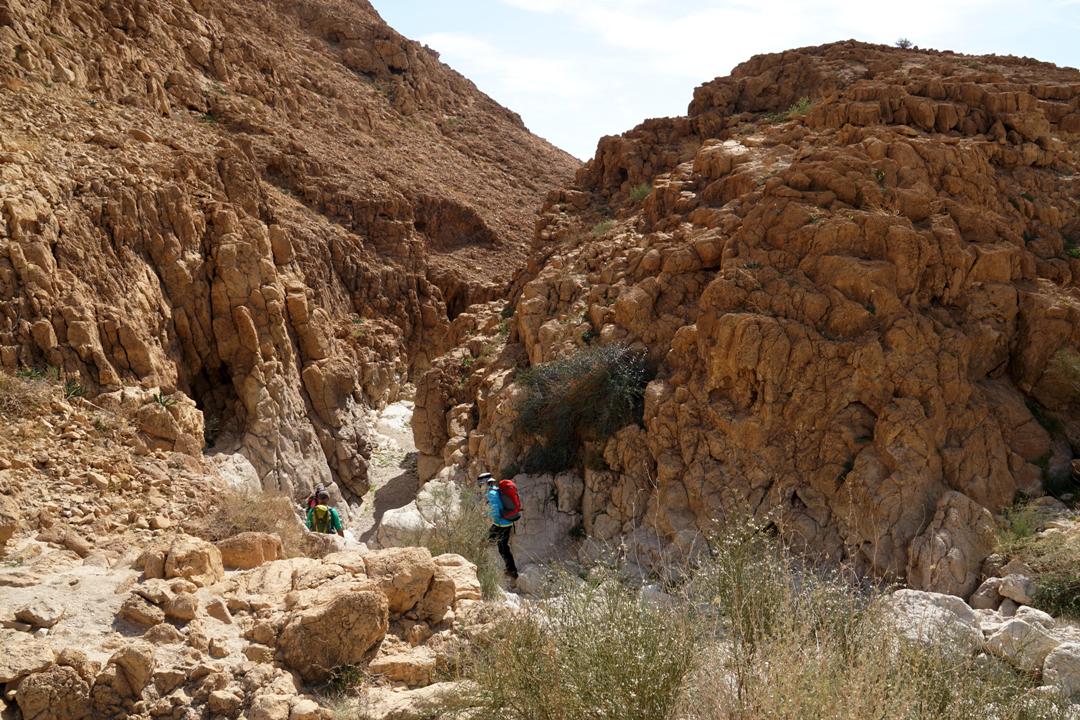
Leave the marked trail and follow the
canyon for 850m till the first big dry fall.
Route description:
|
|
|
|
|
|
|
|
|
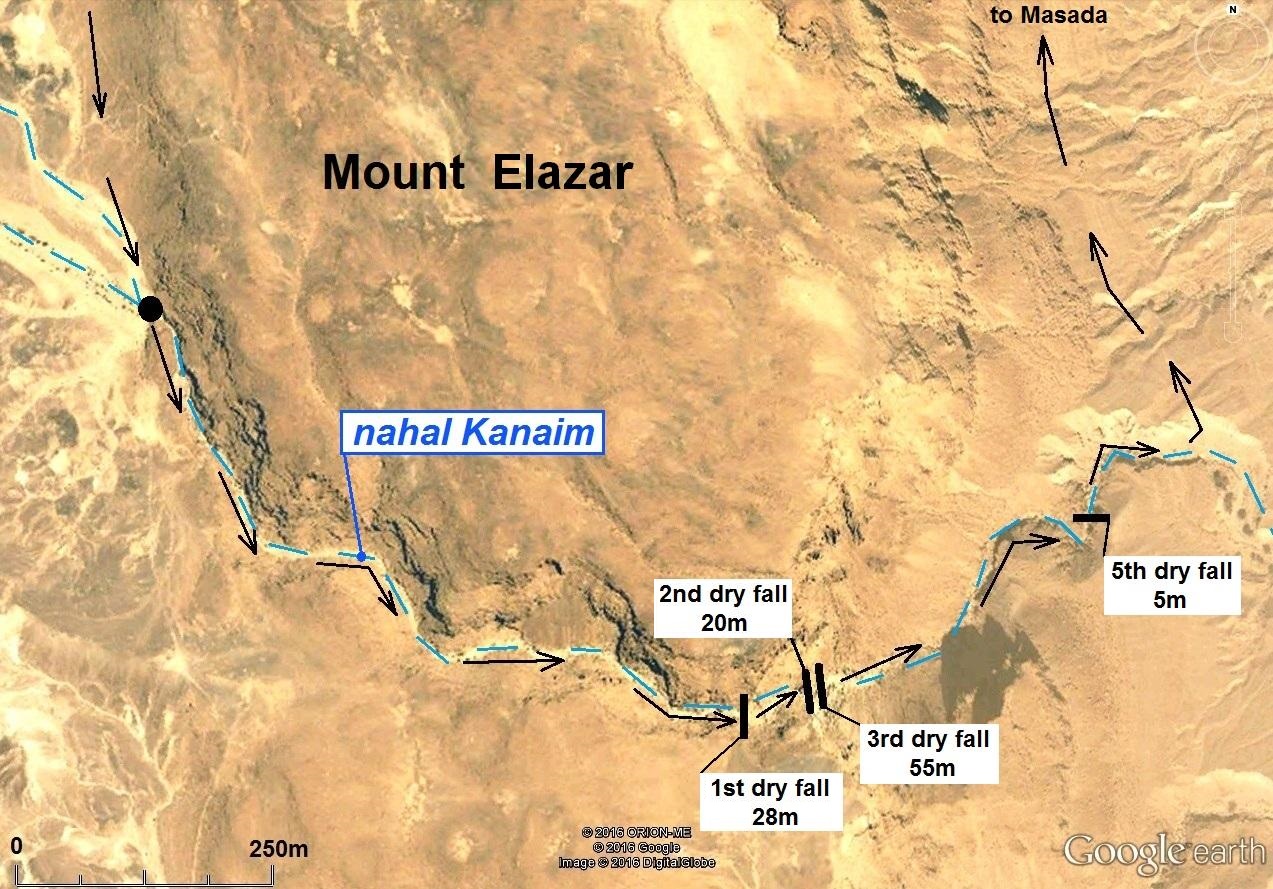
There are up to 4 dry falls to be
abseiled:
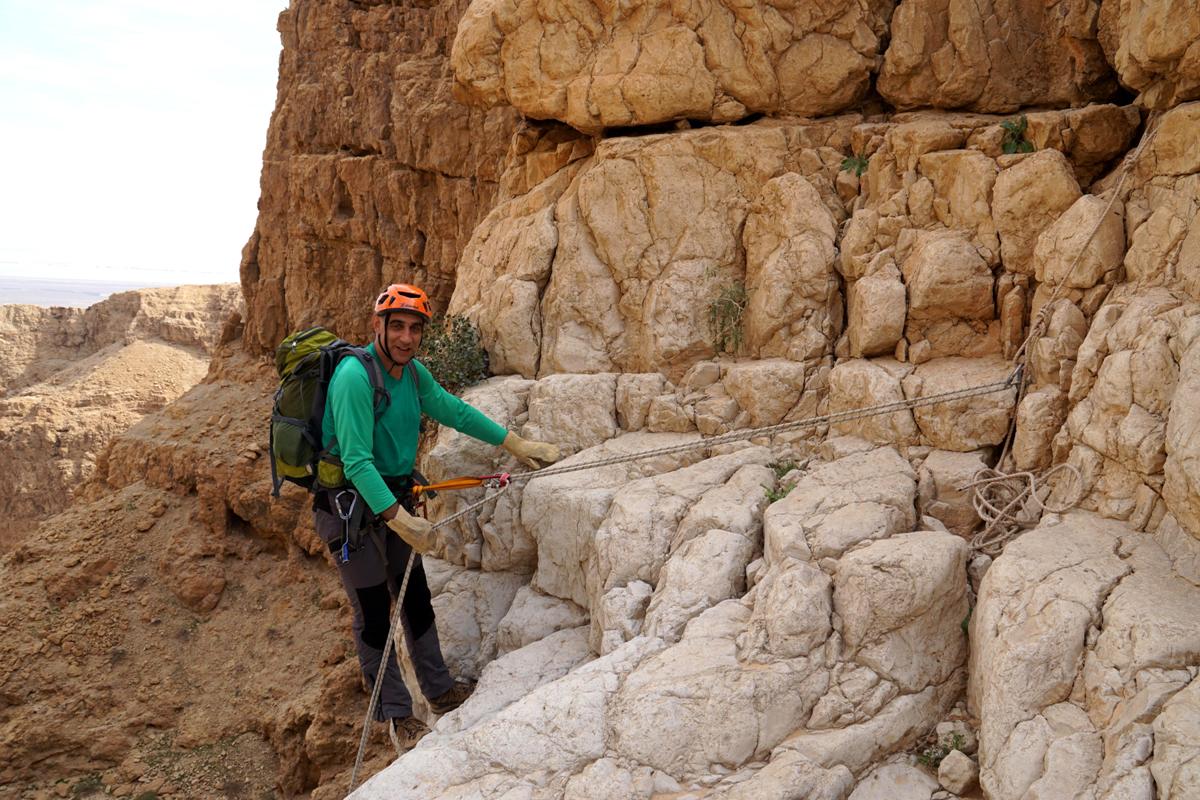
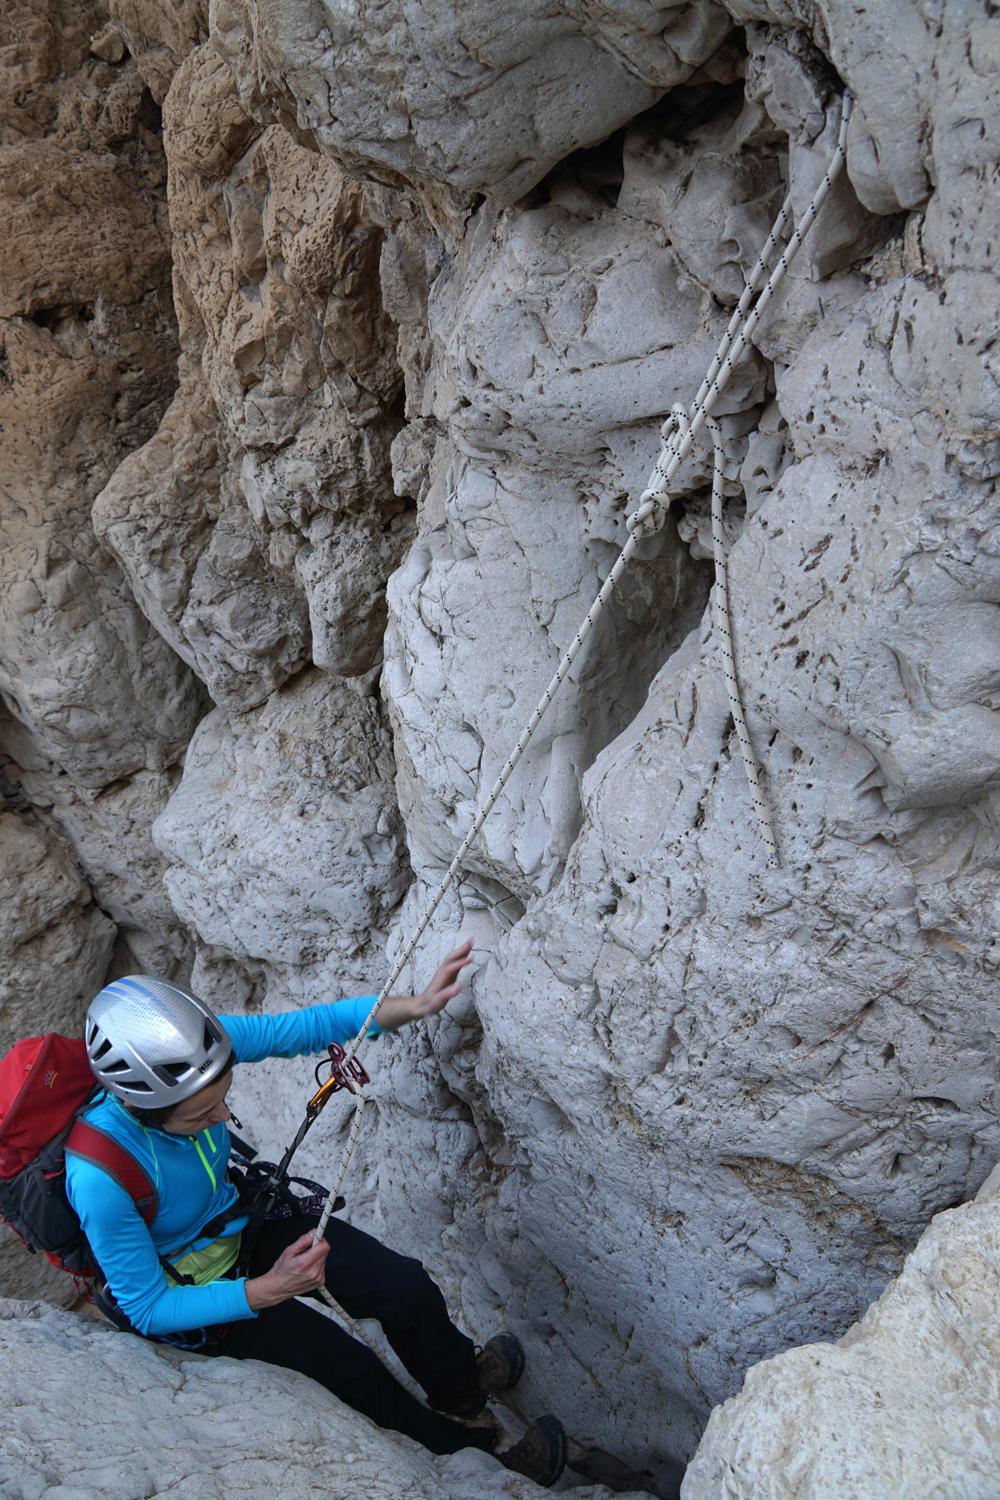
1.
28m (vertical, then 8-10m overhang)
Anchor: one self-made spit on the right side.
It can be easily reinforced putting a rope loop under a big boulder just above.
*
|
|
The 1st dry fall rappelling station |
|
The 1st dry fall rappelling station |
|
|
|
|
|
|
The 1st dry fall rappelling station |
|
The 1st dry fall |
|
|
|
|

The 2nd and the 3rd dry falls
(immediately one after the other) are just 50m down the canyon.
2.
20m if measured from the spit (sloped)
Anchor: one self-made spit in the wall
opposite to the edge, on the right side. Options to reinforce the station are
scarce: there are only narrow cracks hardly suitable for stoppers. We used a
small camming device ("friend") for first rappellers. *
|
|
Approaching the 2nd dry fall rappelling station |
|
The 2nd dry fall rappelling station |
|
|
|
|

|
|
Rappelling down from the 2nd dry fall |
|
The 2nd dry fall |
|
|
|
|
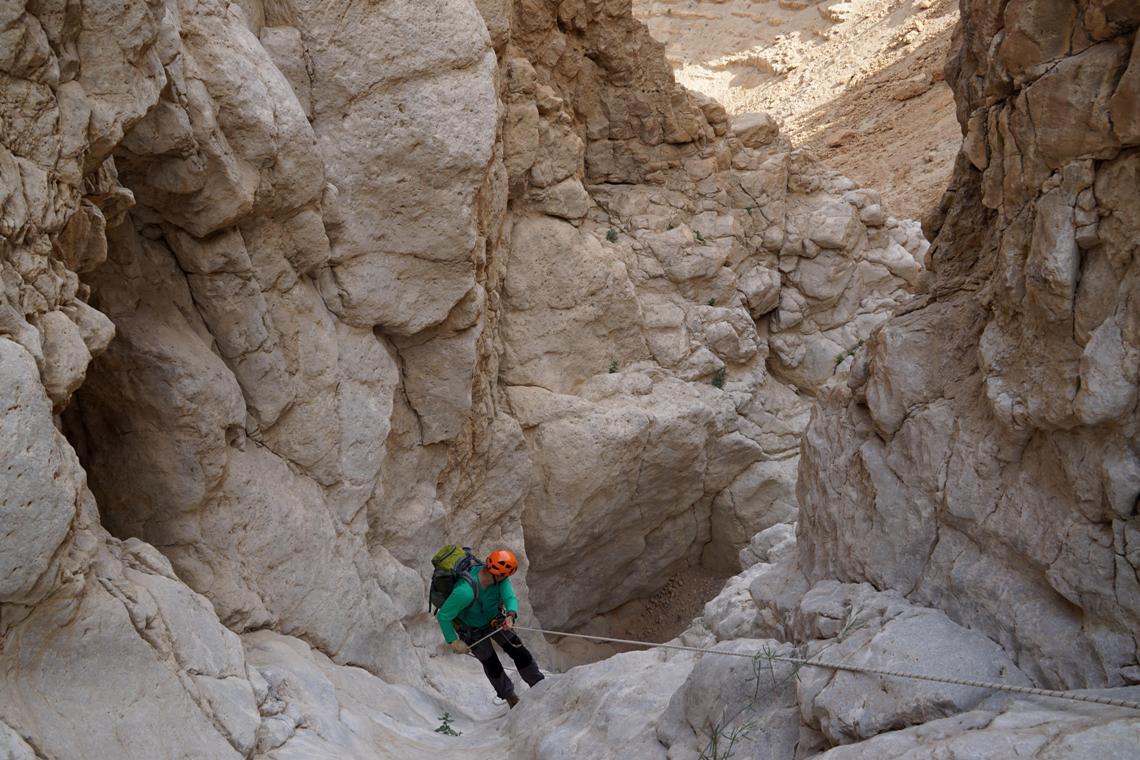

The third dry fall is just under the
second one.
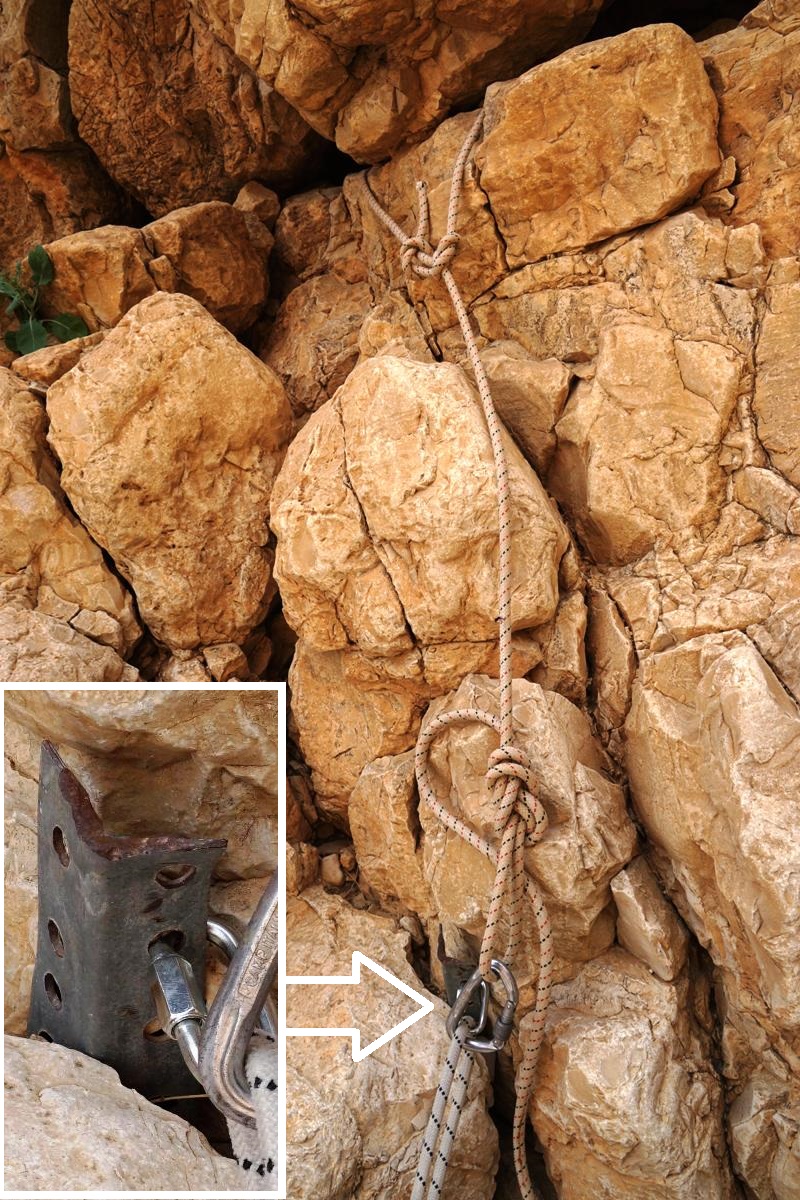
3.
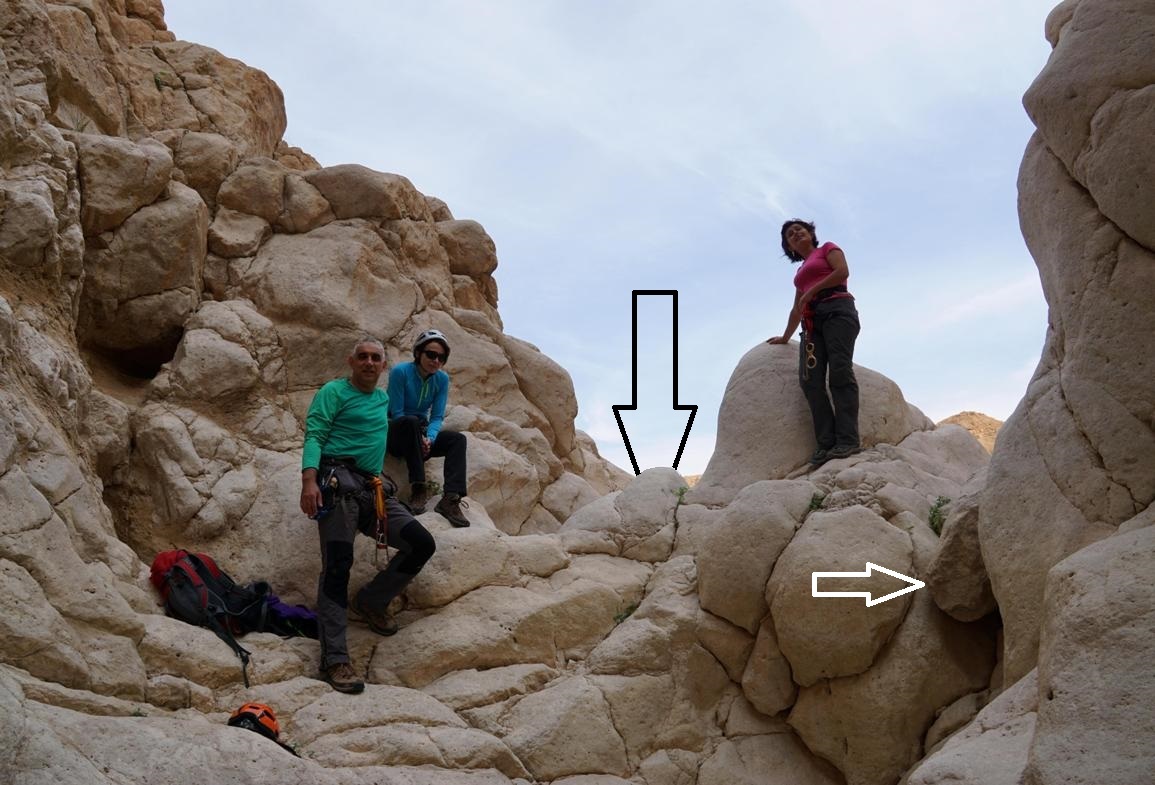
55m (vertical with ledges, then sloped; last 8-10m can be down climbed)
Anchor: one self-made spit behind the
large bolder, which rises in the middle of the "saddle". The spit is
not visible from the edge saddle, so climb down around the bolder from the left
side (black arrow on the picture below).
Another option (which we used, because we
didn't found the spit till I started to rappel…) is to place a rope loop around
a stuck stone on the right side (white arrow on the picture below).
Anyway, keep left side throwing rope and
while rappelling and don't enter into a narrow gully on the right side.
Be careful while rappelling
because of some loose rocks on the wall!
|
|
The 3rd dry fall rappelling station |
|
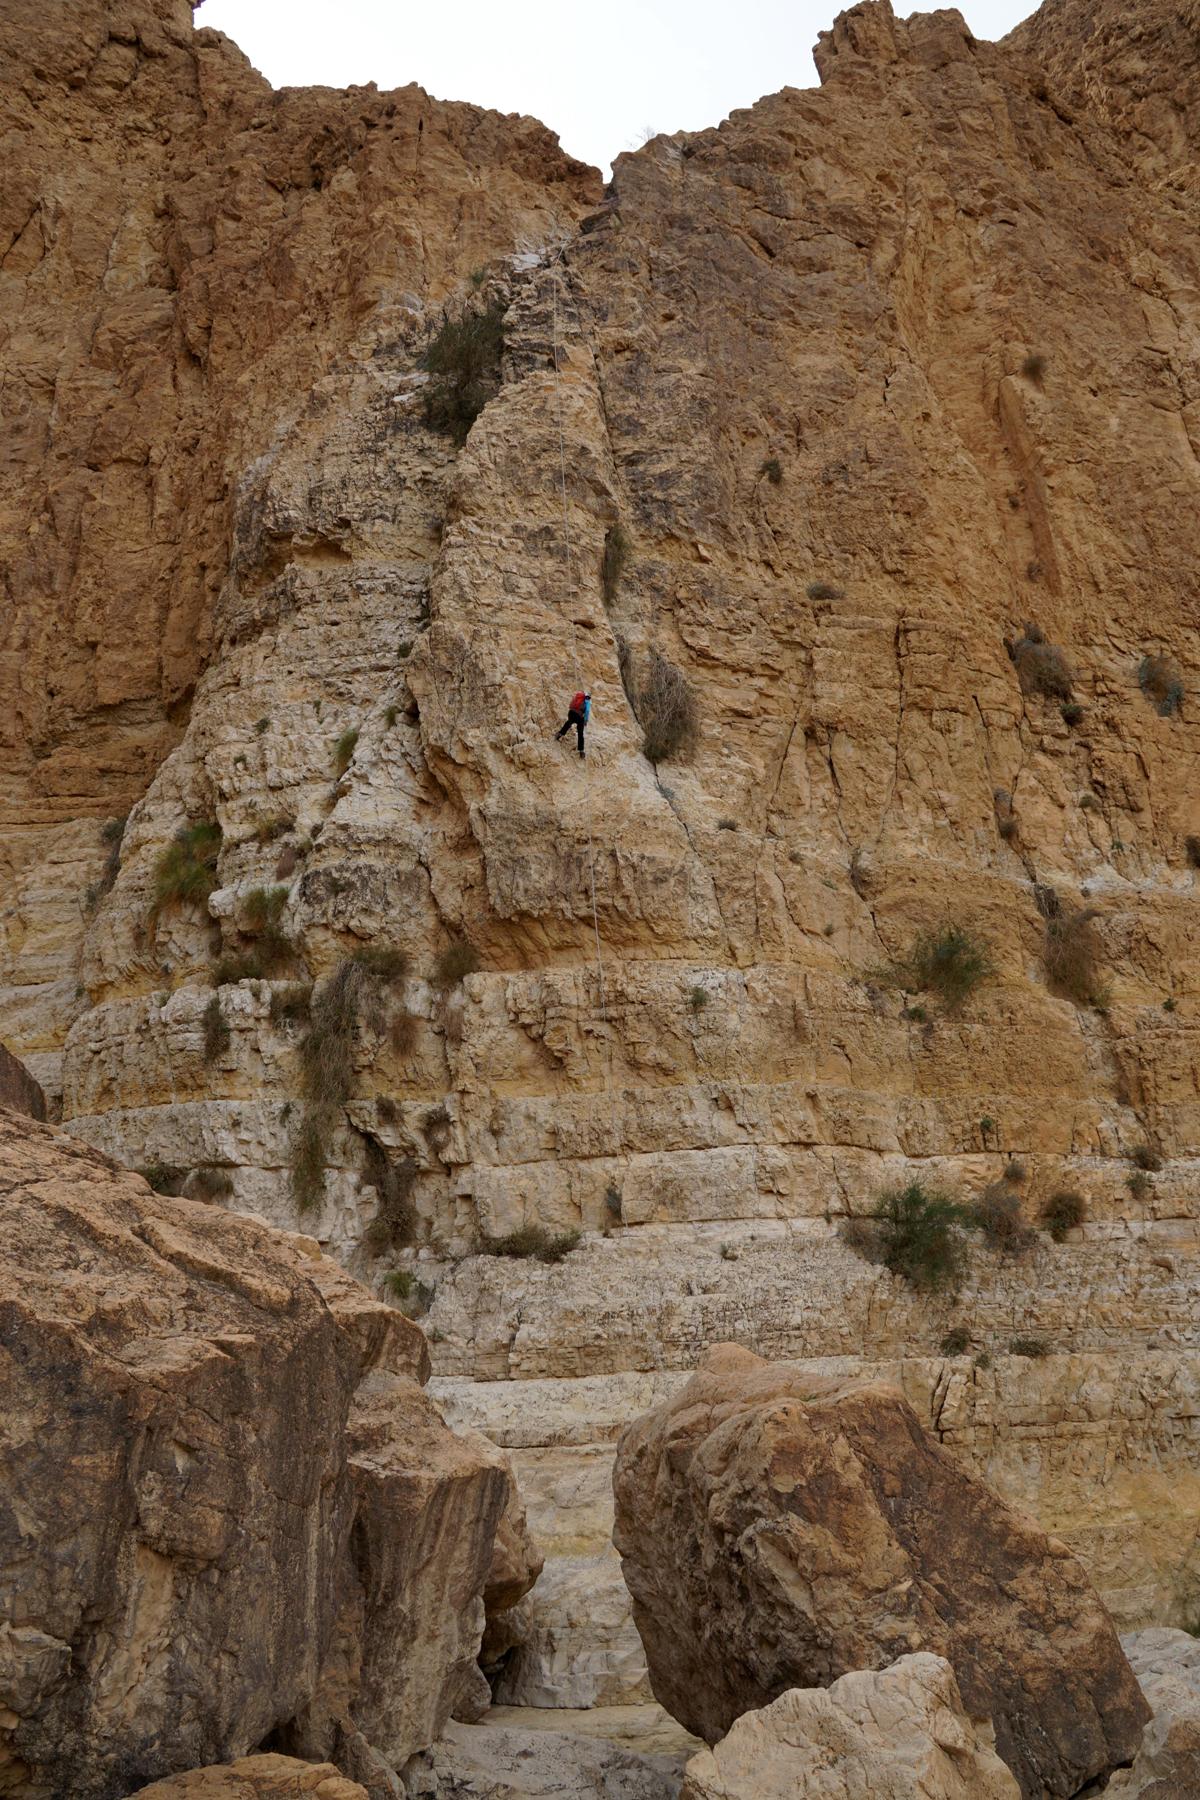
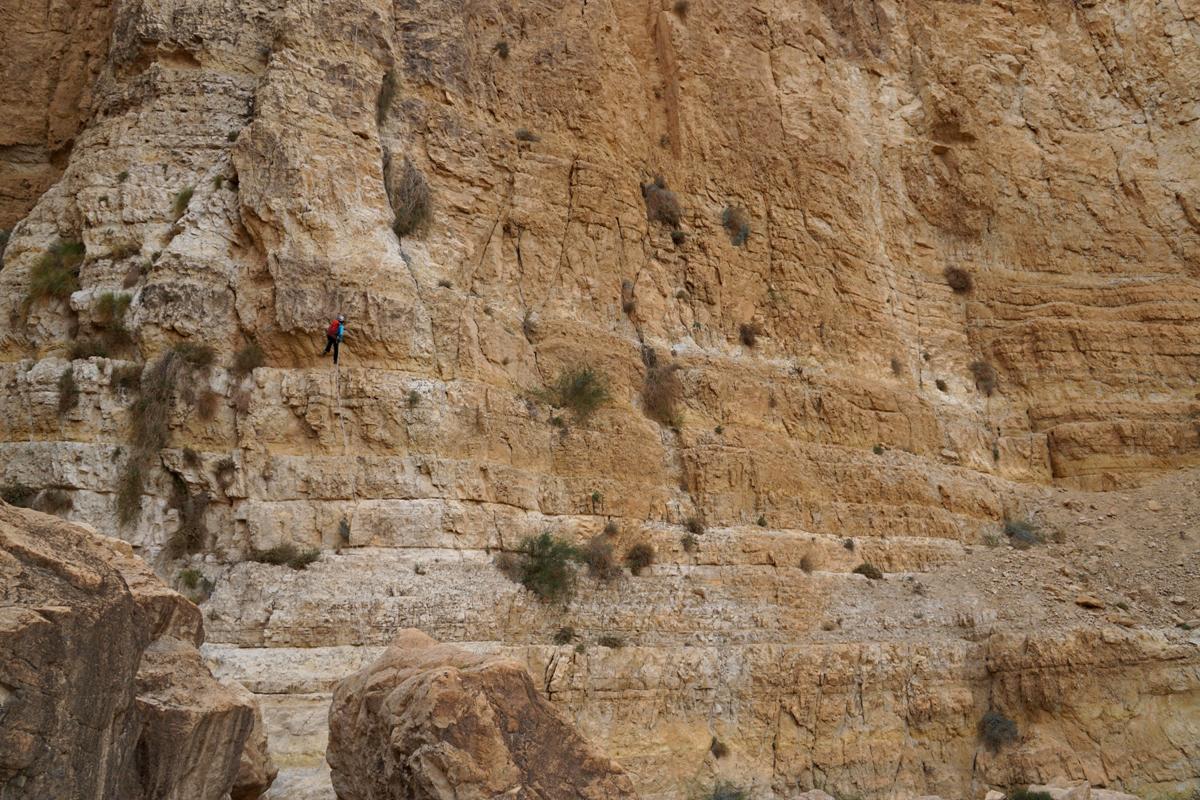
Rappelling down from the 3rd dry fall |
|
|
|
|

|
|
The 3rd dry fall |
|
The 3rd dry fall |
|
|
|
|
Walk (and sometimes down climb) another
500m along the canyon till the 4th dry fall
On the way to 4th dry fall:
|
|
|
|
|
|
|
|
|

4.
5m (vertical in a narrow gully)
Station: you can put a rope loop on a lug
("hourglass") on the right side. *
This dry fall can be down climbed either through the gully (harder) or down the
face on the left side (easier)
|
|
The 4th dry fall |
|
|
|
|
|
|
From below the 4th dry fall walk through
the lower conglomerate part of nahal Kanaim for some 200-300m and use first suitable
"feeble" in the left wall to get out of the canyon.
Hike north, following more or less obvious trails till the parking lot of
Masada (approximately 1.7km).
|
|
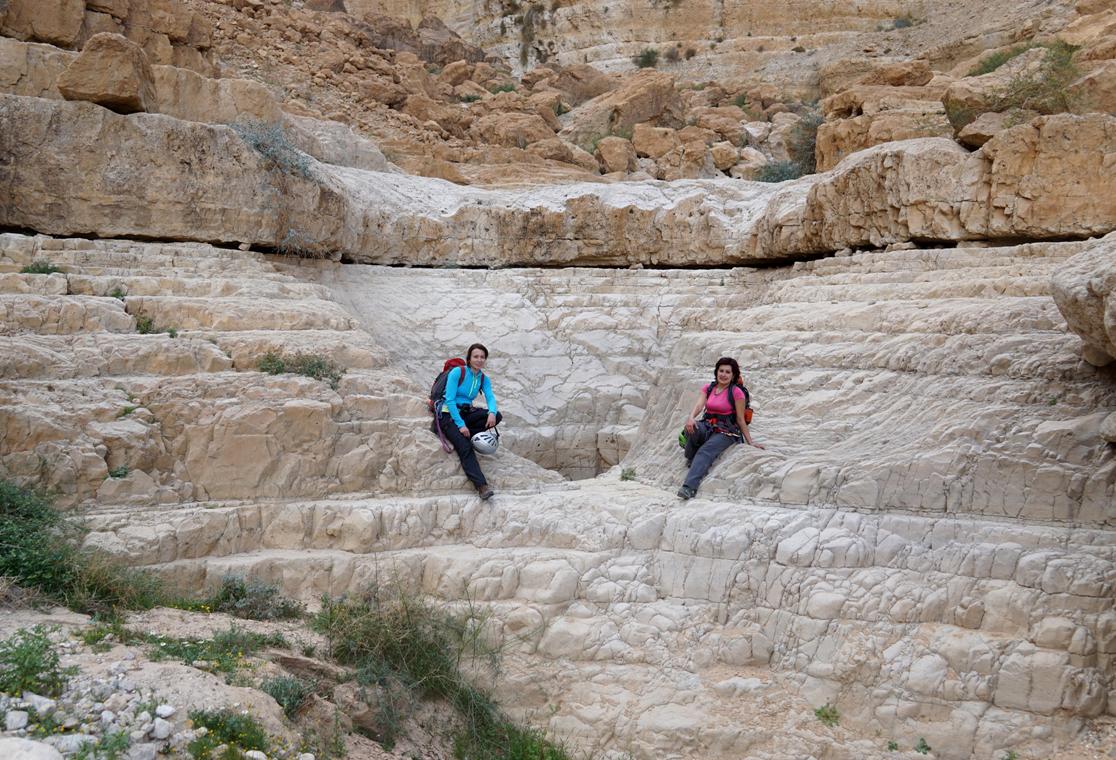
Walking through the lower part of nahal
Kanaim |
|
A view of "carved plains" from a trail
between nahal Kanaim and |
|
|
|
|


***** - The only one of its kind. A "must
do" trip!
**** - Very interesting, highly recommended!
***
- Pretty nice route.
** - Inexpressive
one.
* - Do it if you have nothing to
do...